3D45 3D Printing Basics
- Glue Application
- Print Removal
- Leveling Build Platform
- Loading Filament
Applying Glue to the Build Platform
This page walks you through the 3 basic steps how to properly apply the glue and clean your build platform.
Watch the video for an overview or download the PDF instructions here.
To buy Dremel glue sticks click here
It is important to ensure that the 3D45 build platform is covered with Dremel specified glue before each build. You should apply a layer of glue every 1-3 prints. When you apply glue, make sure you apply it to the whole area of the build platform where the part will print. Allow the glue to dry before leveling or starting a print. Preheating the build platform can help speed up this process.
Applying the Glue
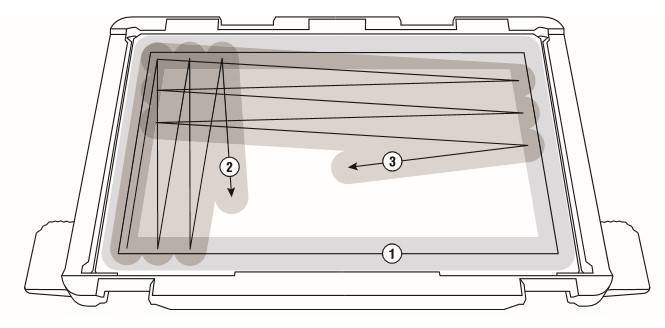
Each time you apply glue, make sure to apply two overlapping layers.
1. You can apply the glue to the perimeter of the print area first.
2. Zigzag up and down while overlapping over the entire area.
3. Wait for 10 seconds and then apply another layer zig zagging left to right.
TIP
Every 7-10 glue applications, or if the glue layer becomes uneven, you
should completely clean the build platform.
Cleaning the build platform
Option 1: Remove the build platform from the printer. Wet the platform in water, by holding it under warm water for a few seconds. Make sure not to get the warning label on the front of the build platform wet. After that, you should easily be able to scrape or wipe the glue off. Make sure the build platform is completely dry before putting it back in the 3D45.
Option 2: Remove the build platform from the printer. Use the scraper to scrape the glue off the entire surface of the build platform. You can scrape from left to right and then from up to down to ensure that all the glue has been removed. Make sure to remove the build platform from the printer before scraping as glue dust can get sucked into the filter and clog it.
Apply two full layers of glue to the clean build platform allowing the first layer to dry in-between. Once the second layer has dried, re-level the platform before starting your next print.
Print Removal
This page walks you through the 3 steps on how to remove your printed model from the build platform.
You can download the PDF instructions here
To buy the scraper click here
Removing the printed part from the build platform can be performed in different ways. Be cautious when removing the part as injuries can occur when using the object removal tool.
1. Allow the build platform and nozzle to cool down below 60°C before handling. To ensure this, using the touchscreen go to tools, preheat, then select pause on both nozzle temperature, and platform temperature icons, check the temperature,allow it to drop below 60°C on both nozzle and platform.
2. Remove the build platform from the printer using the tabs and front clips on right and left side of build platform (shown in picture).

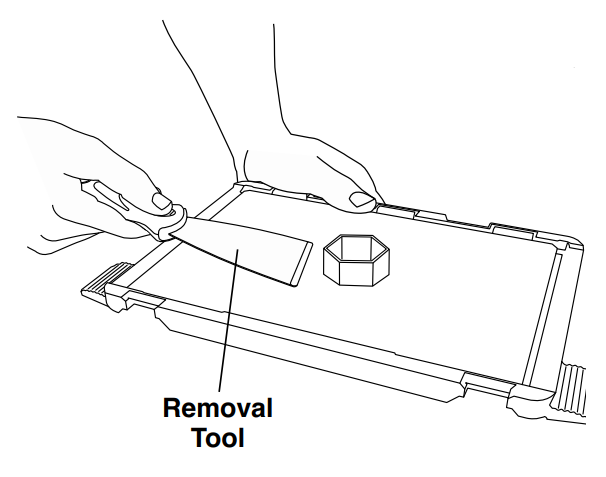
3. Peel your object from the build platform. If needed, gently use the object removal tool to remove object from build platform


Leveling 3D45 Build Platform
This page you will find the steps to level your build platform. Watch the video for an overview or download the leveling instructions PDF here.
It is important you level the build platform every time you reinstall it to ensure that the build platform is evenly spaced from the extruder head. Not leveling the build platform may cause objects to not build properly.
Leveling printer bed
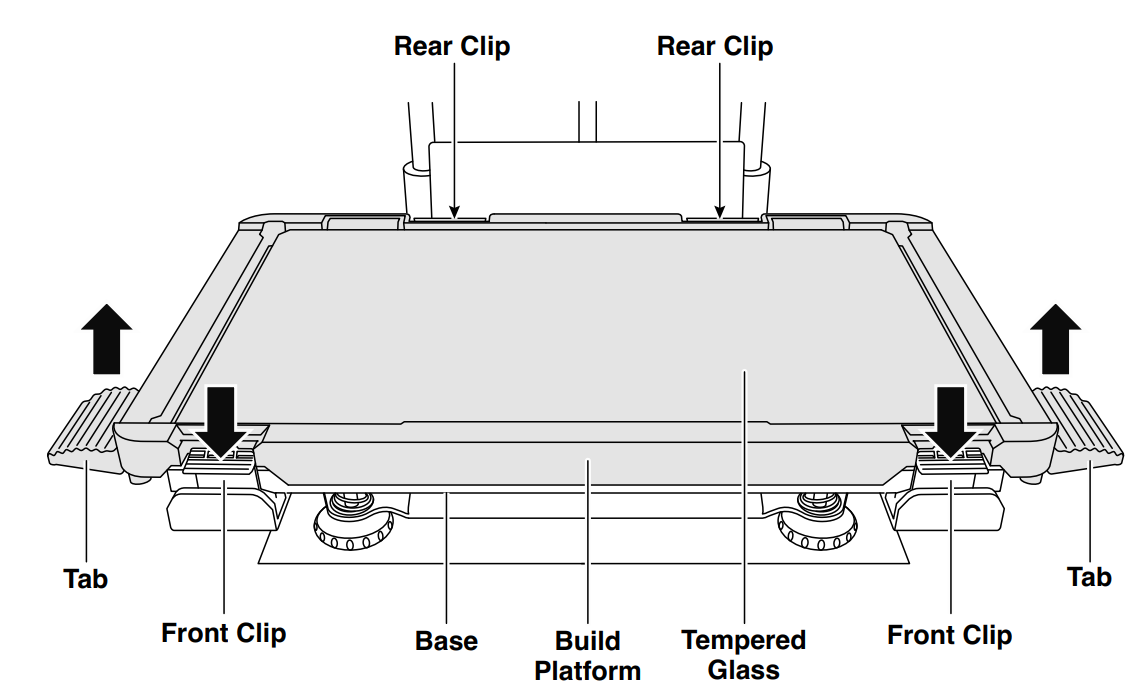
1. Remove build platform by first pressing down and releasing the two clips located at the front, then lift the build platform off the base using the tabs.
2. Apply a thin layer of glue with the provided glue stick to the build platform and secure in place. For more information on how to apply glue click here
3. Install the build platform by first inserting the rear of the platform onto the rear clips, then press down on the front of the platform until it snaps in place.
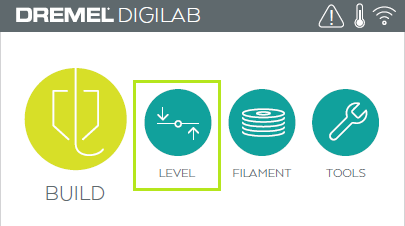
1. Tap “Level” on your Dremel 3D45’s touch screen.
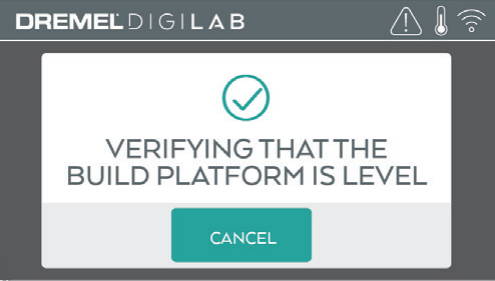
2. 3D45 will first check the level at the back of the build platform, then move to the first leveling position.
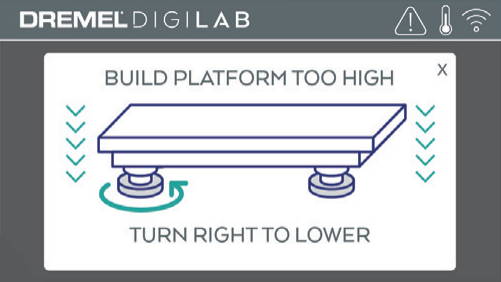
3. The touchscreen will indicate if your build platform is too high or too low.
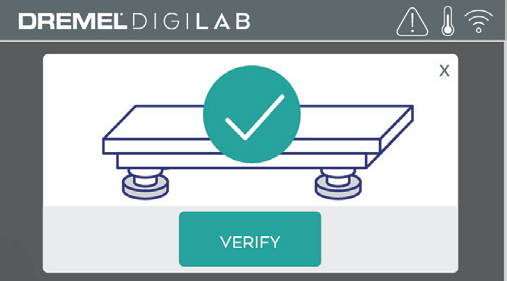
If the build platform is too high, turn knob to the right, if it is too low, turn knob to the left until you hear a “beep”. Tap “Verify” to check the build platform level again.
4. Repeat previous step for the second leveling position.
5. When the build platform is level, extruder will automatically move to the calibration position and complete the leveling process.
Loading Filament
Watch the video or steps below to change or install a new filament spool in your 3D45 printer.
To purchase filaments for your printer click here
If changing spools from one currently installed start here, if replacing an empty spool or loading filament into a printer with no spool start in step 4
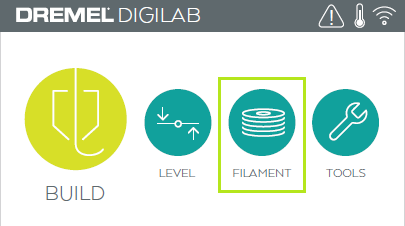
1. Start filament load/change process by tapping “Filament” button on touch screen. Extruder will move to front right corner of print area and extruder tip will begin to heat.
2. After extruder stops moving, open the 3D45 Lid for better access to extruder.
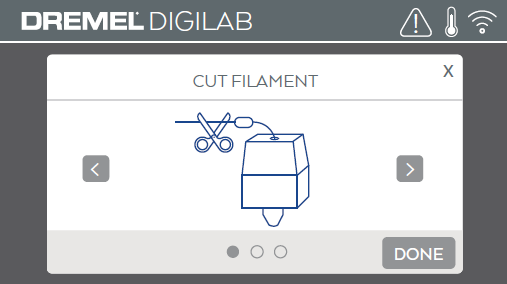
3. If existing filament is loaded, cut existing filament near extruder intake and tap the arrow button on touch screen.

4. Remove Spool door by rotating it counter clockwise. Remove existing spool if one is present.
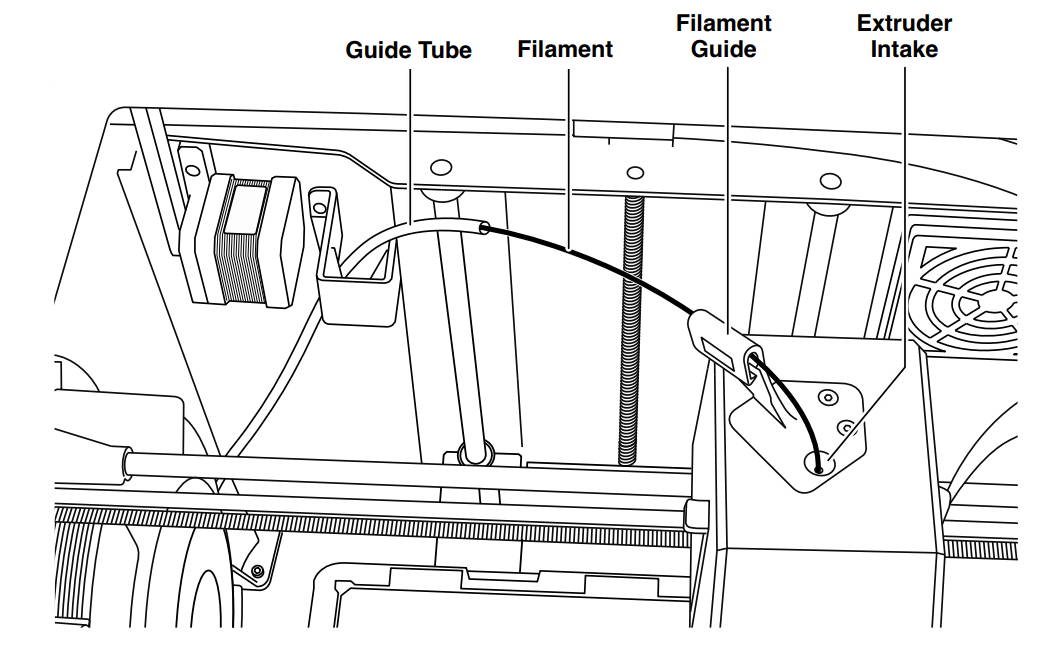
5. Thread tip of new filament through guide tube, place spool on spool holder, replace spool door by aligning locking tabs and rotating clockwise
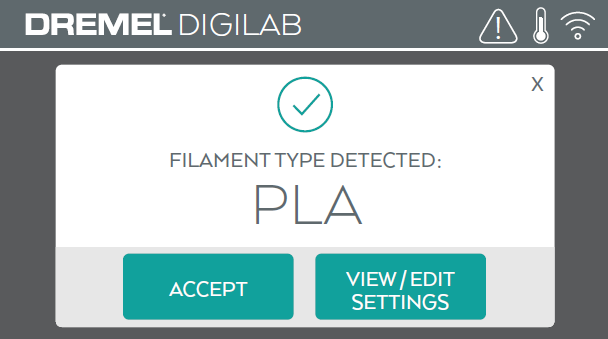
6. When you place a roll of Dremel filament
into the spool holder, the printer will autorecognize the filament type and adjust the printer settings to be optimized for the filament you are using (This will bypass any print settings loaded in your sliced file).
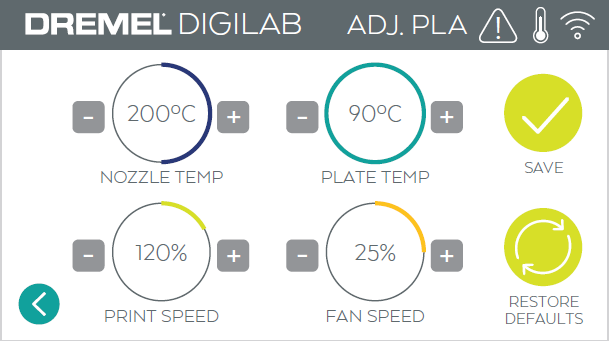
Note. You have the option to enter advanced printer mode to manually alter print settings after you change filament. Please check all settings (if manually entered) as improper settings may cause prints to fail, property damage, or personal injury). Click Here
7. If changing existing filament, 3D45 will automatically purge existing filament.
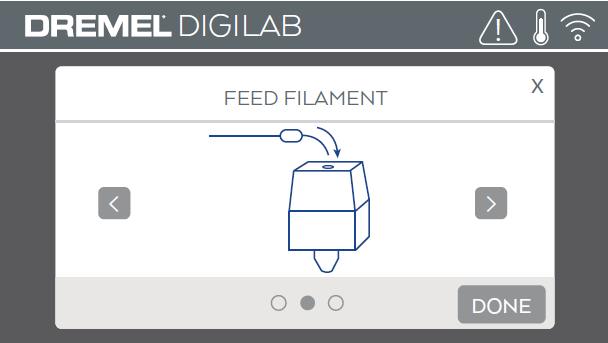
8: When Feed Filament screen appears, tap the arrow on touch screen and thread filament coming from guide tube into extruder intake until extruder feeds through on its own.
9. Filament will be drawn into the extruder and begin to exit from the hot extruder tip.
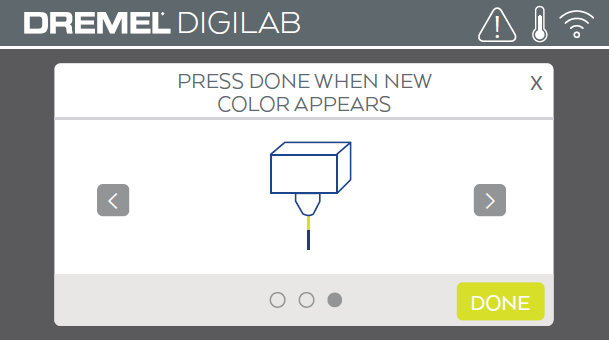
NOTE: Your Dremel 3D45 was tested by building objects before leaving the factory. These test objects may have been made with a different filament color than you are using. Therefore, a small amount of filament may be remaining in the extruder.
10. When new filament appears from extruder tip, tap “done” on touch screen to complete filament load process, return to main menu, and calibrate extruder. Carefully remove excess filament without touching hot extruder tip. If necessary, carefully remove debris from extruder tip with needle nose pliers.